Getting Started with Terraform on Marvlbyte: Creating Virtual Machines
Introduction
Welcome to Marvlbyte! In this tutorial, we'll guide you through the basics of using Terraform to create and manage virtual machines (VMs) on Marvlbyte's OpenStack-based cloud service platform. Terraform is an Infrastructure as Code (IaC) tool that allows you to define and provision infrastructure using a declarative configuration language.
Prerequisites
Before you begin, ensure you have the following:
- A Marvlbyte account. You can create one here.
- Terraform installed on your local machine. You can download it from the official website.
To install on Ubuntu/Debian just copy and paste the following command
wget -O- https://apt.releases.hashicorp.com/gpg | sudo gpg --dearmor -o /usr/share/keyrings/hashicorp-archive-keyring.gpg
echo "deb [signed-by=/usr/share/keyrings/hashicorp-archive-keyring.gpg] https://apt.releases.hashicorp.com $(lsb_release -cs) main" | sudo tee /etc/apt/sources.list.d/hashicorp.list
sudo apt update && sudo apt install terraform
For CentOs
sudo yum install -y yum-utils
sudo yum-config-manager --add-repo https://rpm.releases.hashicorp.com/RHEL/hashicorp.repo
sudo yum -y install terraform
For Fedora
sudo dnf install -y dnf-plugins-core
sudo dnf config-manager --add-repo https://rpm.releases.hashicorp.com/fedora/hashicorp.repo
sudo dnf -y install terraform
For more options and other OSes, please visit this.
Step 1: Set Up Your Marvlbyte Account
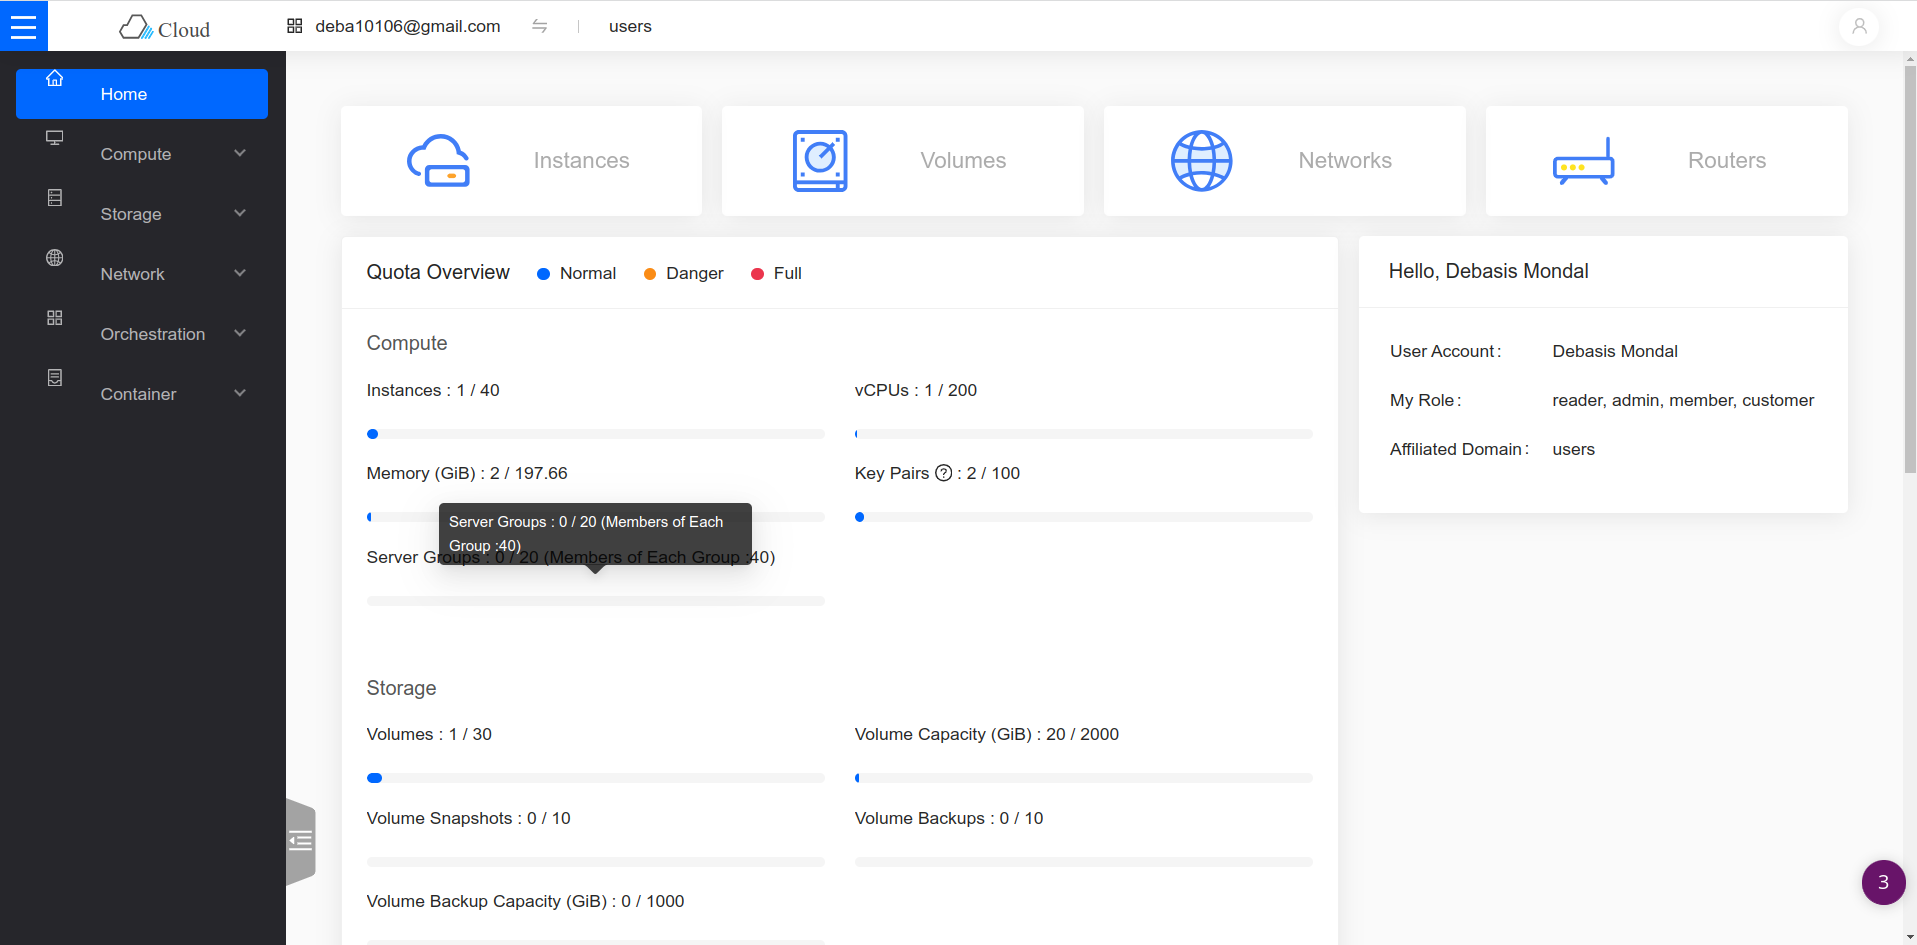
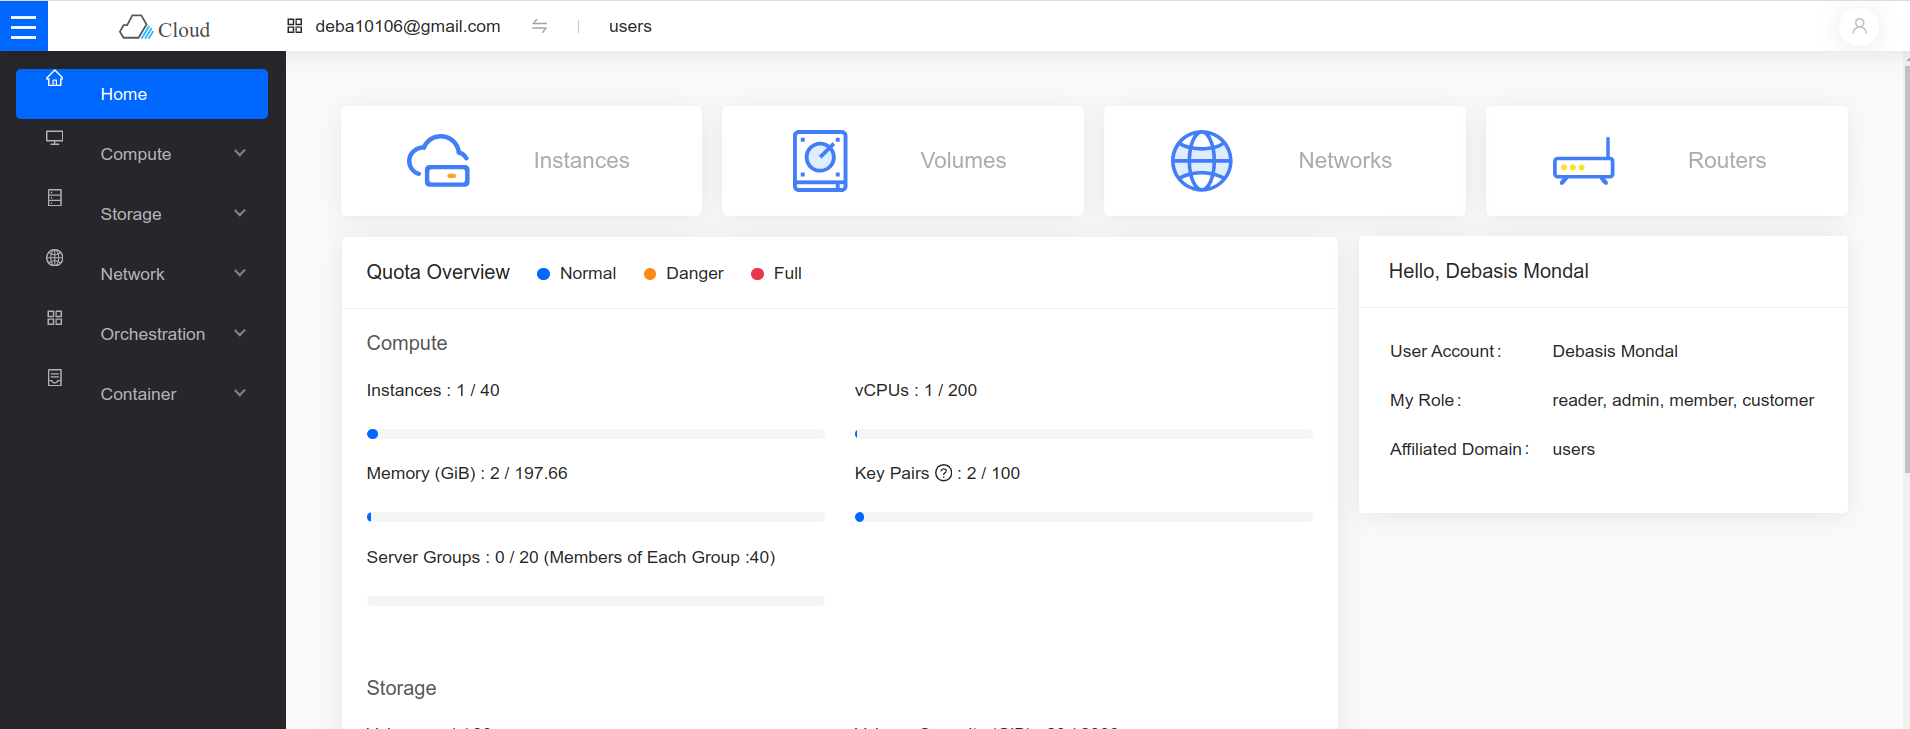
If you don't have a Marvlbyte account, sign up for one here. After creating an account, log in to the Marvlbyte dashboard.
Step 2: Configure OpenStack Provider in Terraform
Create a file named provider.tf and add the following configuration for the OpenStack provider:
 #Configure the OpenStack Provider
provider "openstack" {
  #user_name   = "admin"
  tenant_id = "admin" # input your project_id from #https://marvlbyte.com/profile-subscription
  token    = "<COPY TOKEN_ID FROM THE SAME PAGE>"
  auth_url    = "https://marvlbyte.com:5000"
  region      = "RegionOne"
  endpoint_overrides = {
    "network"  = "https://privatecloud.marvlbyte.com:9696/v2.0/"
    "volumev2" = "https://privatecloud.marvlbyte.com:8776/v2/<COPY project_id>/"
  }
}
Remember that the token ID expires every 50 minutes. In such a scenario, please logout and login again to get the freshly generated token ID.
Step 3: Create a Virtual Machine Configuration
Create a file named main.tf and define your VM configuration. For this tutorial, let's create a simple VM with basic specifications:
terraform {
  required_version = ">= 0.14.0"
  required_providers {
    openstack = {
      source  = "terraform-provider-openstack/openstack"
      version = "~> 1.53.0"
    }
  }
}

resource "openstack_compute_instance_v2" "example_vm" {
  name        = "my-terraform-vm"
  image_name  = "your-image-name" # e.g., "Ubuntu-20.04" copy exact image #name from the marvlbyte console
  flavor_name = "your-flavor-name" # e.g., "m1.small" copy exact flavor_name #from the marvlbyte console
  key_pair    = "your-key-pair-name"
  security_groups = ["default"]
  # Add additional configuration as needed
}
Replace "your-image-name", "your-flavor-name", and "your-key-pair-name" with your actual OpenStack image, flavor, and key pair names.
Step 4: Initialize and Apply the Configuration
Open a terminal and navigate to the directory containing your Terraform files. Run the following commands:
terraform init
terraform apply
Review the changes and type yes to apply the configuration. Terraform will create the specified VM on Marvlbyte's OpenStack.
Step 5: Access Your Virtual Machine
Once the provisioning is complete, you'll see output containing information about the created resources, including the IP address of the VM and Instance/VM name. Now using the marvl-cli (Follow this), one can easily get into the VM,
marvl ssh vm <VM_NAME>Replace "VM_NAME" with the actual instance name obtained from the Terraform output.
Step 6: Cleanup
When you're done experimenting, clean up the resources to avoid unnecessary charges. Run:
terraform destroy
Type yes to confirm the destruction of resources.
Conclusion
Congratulations! You've successfully created and managed a virtual machine on Marvlbyte using Terraform with the OpenStack provider. This basic tutorial provides a foundation for more complex infrastructure deployments. Explore Terraform's documentation and Marvlbyte's OpenStack offerings for additional features and capabilities.
For more details, refer to the Terraform OpenStack Provider documentation and Terraform documentation. Happy provisioning!