How to Create a Virtual machine on marvlbyte using the dashboard console

(Method 1)
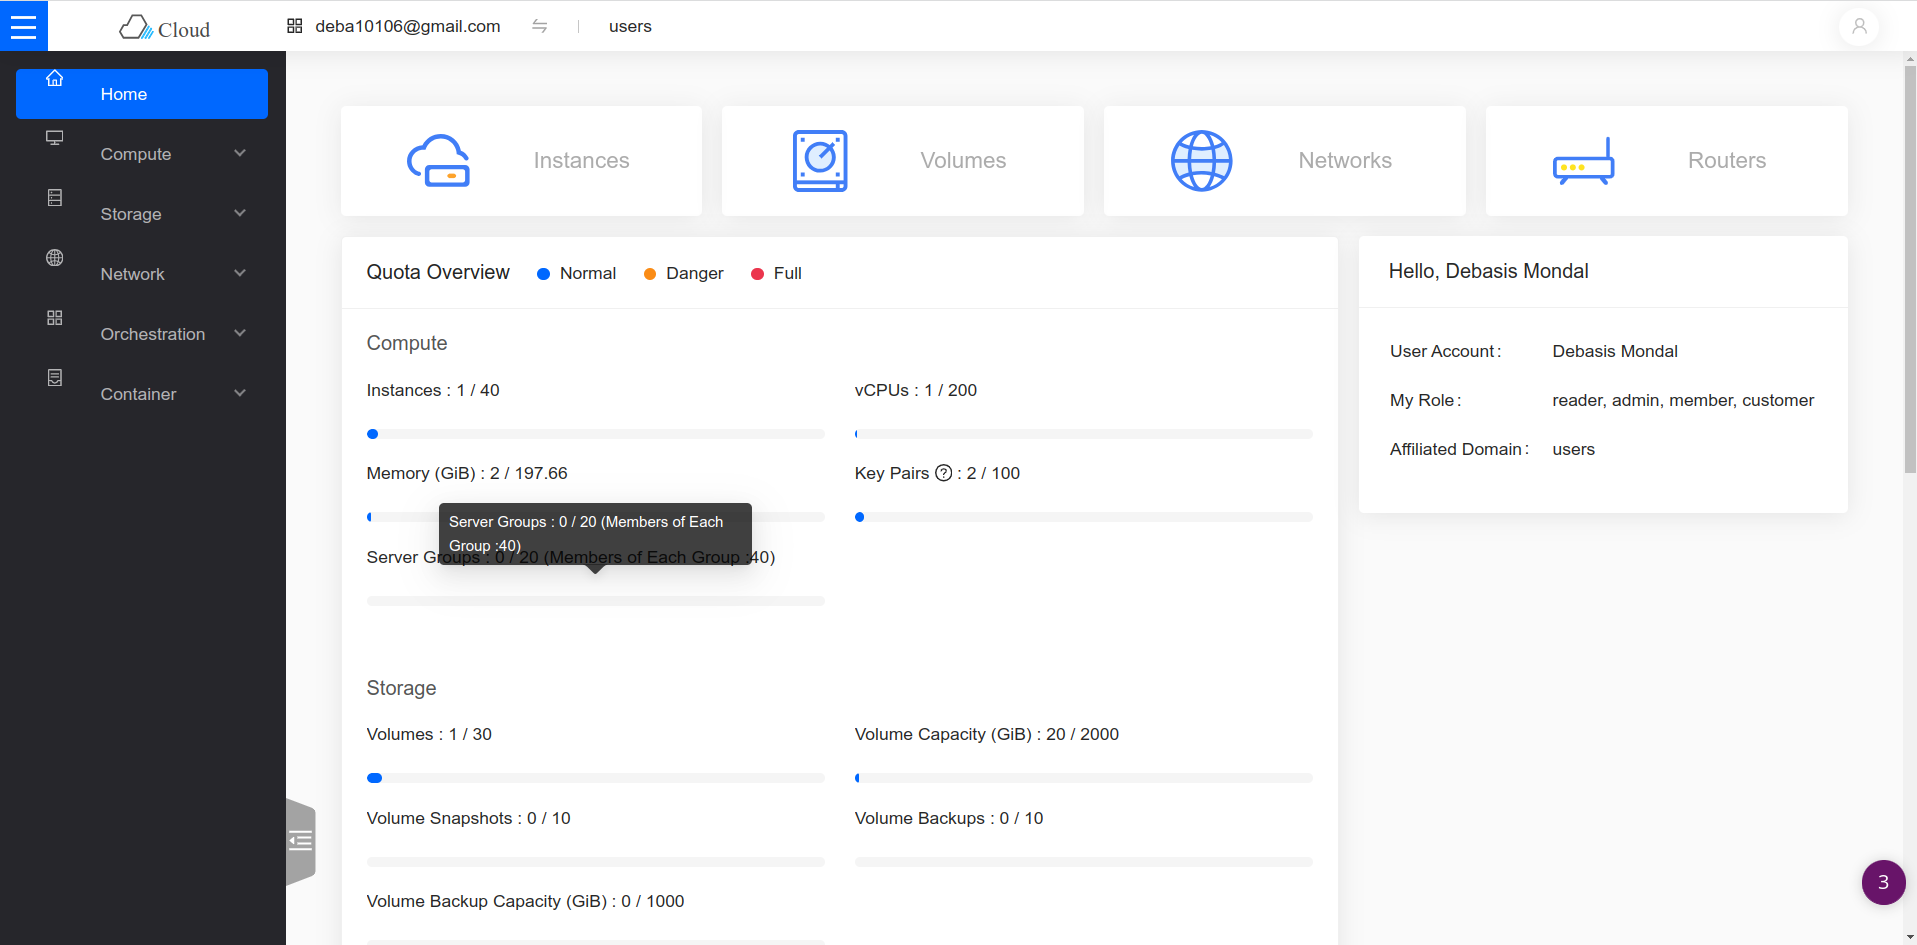
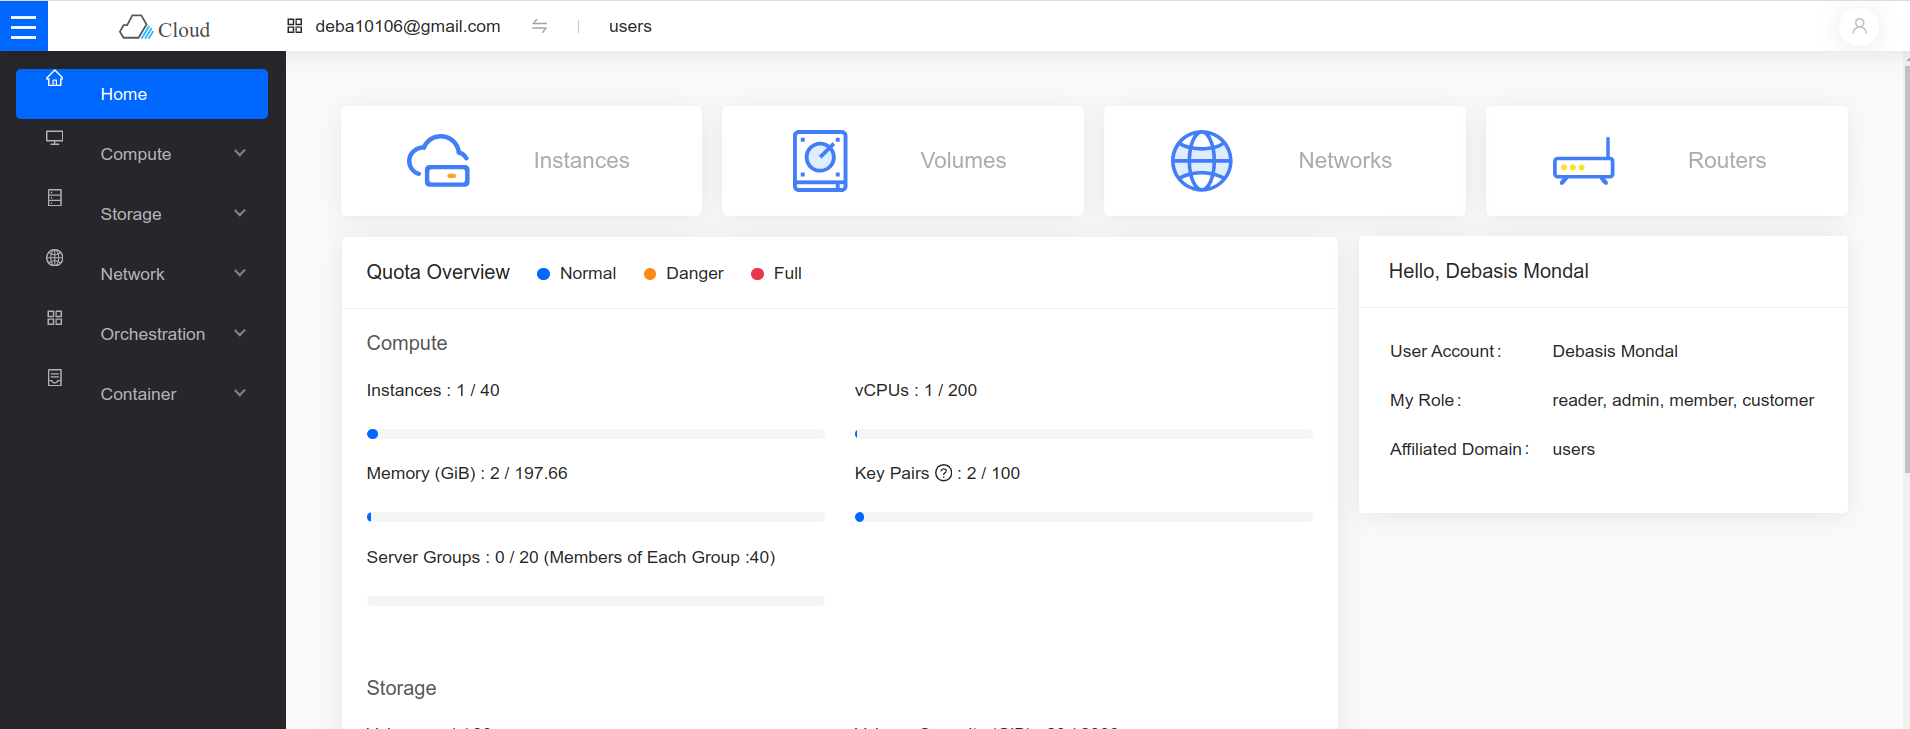
step 1: Head over to the dashboard and log in.

step 2: From the instances section, start the creation of a VM with just a few clicks beginning with the "create instance" button. And then follow the screenshots below.
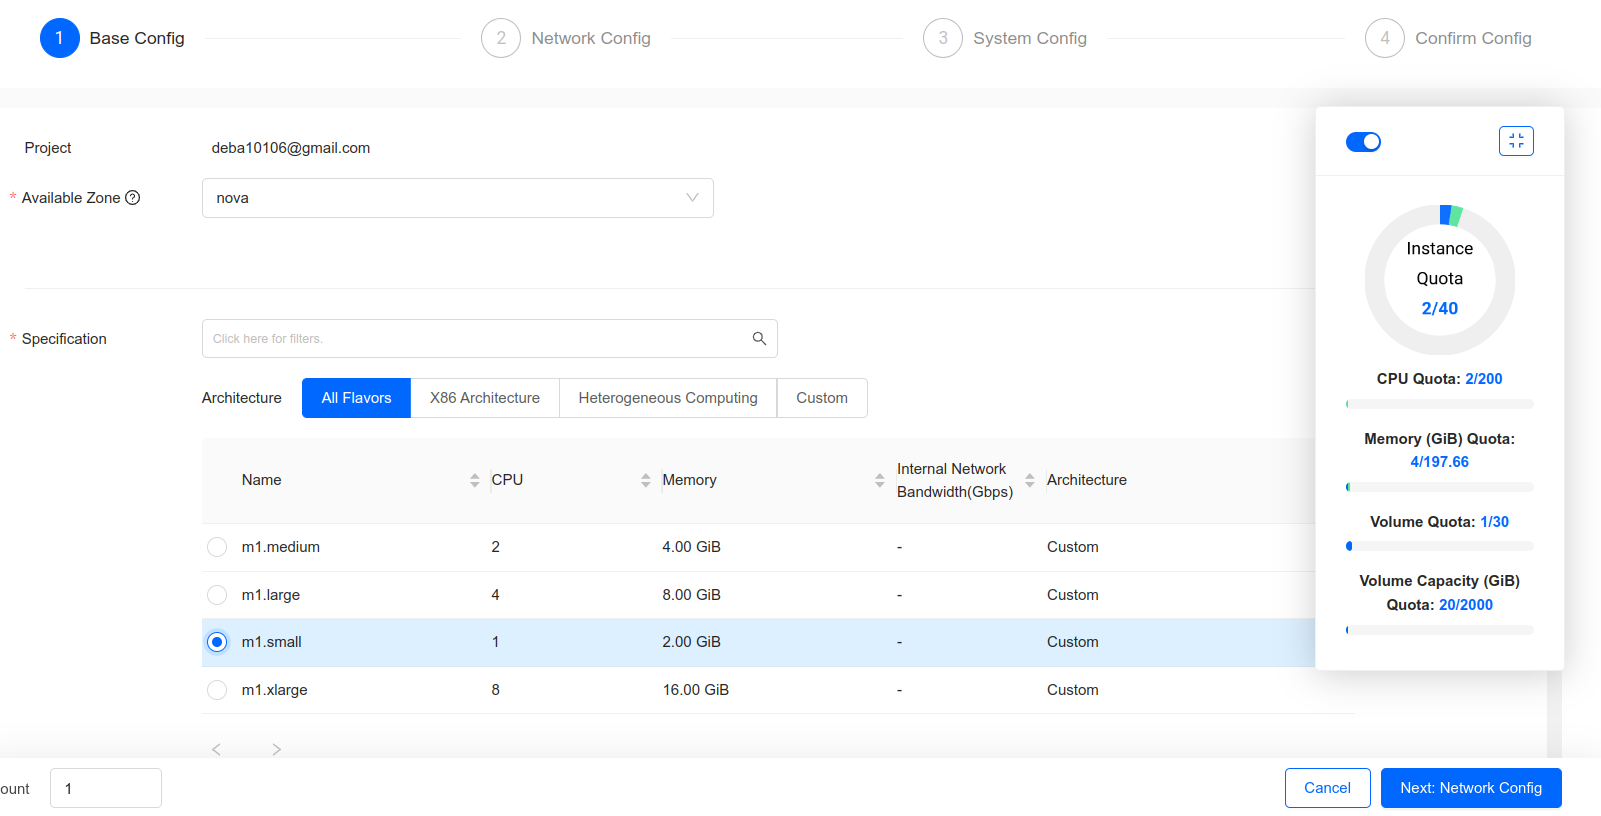
a) Choose a flavor/specification
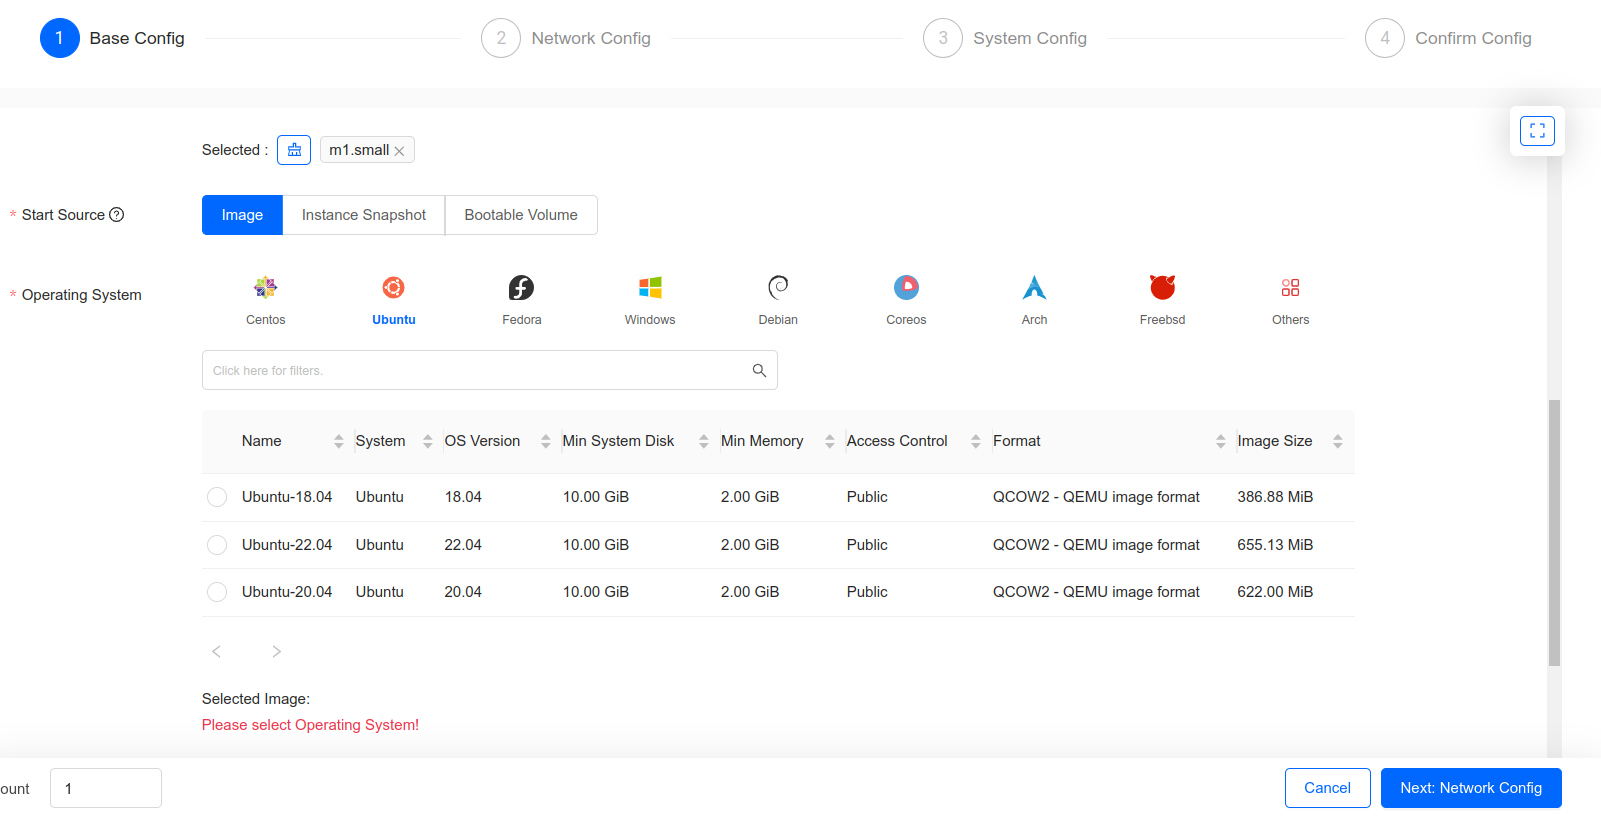
b) Choose an operating system
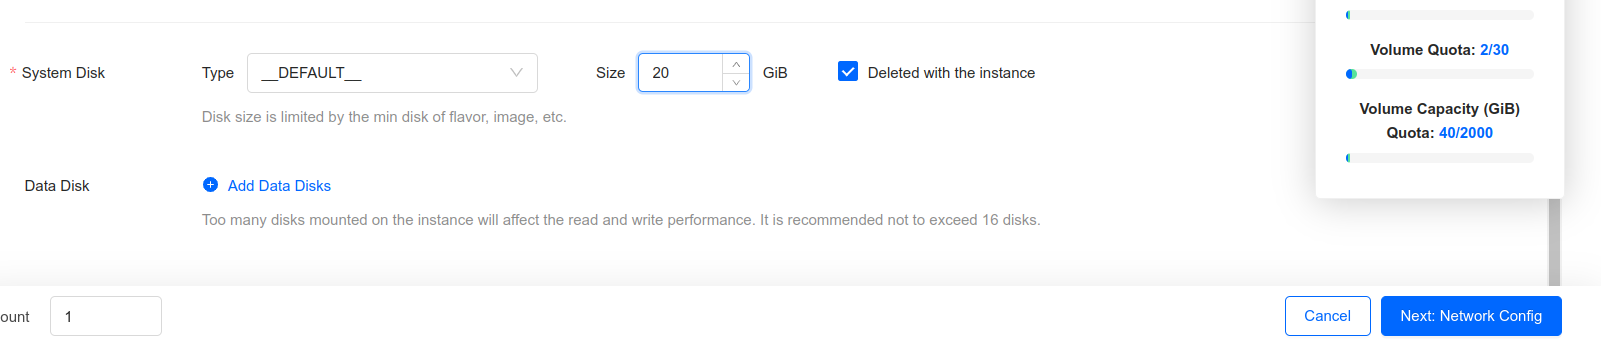
c) choose the system disk type (The available option is DEFAULT for now but in the future, there may be more ) and minimum size for the chosen flavor as shown below
d) On the next page (Network Config), choose a network named "shared" from the shared Network section. For more details check
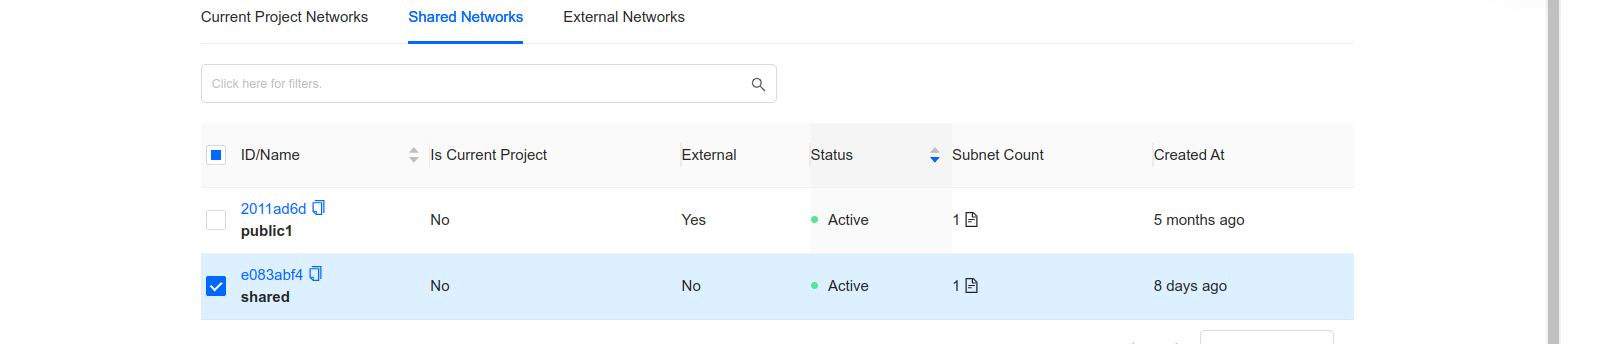
Please DO NOT choose the network named "public1" network or any network from the external Networks section.
e) From the Security Group section below, choose default and any other security groups if required.
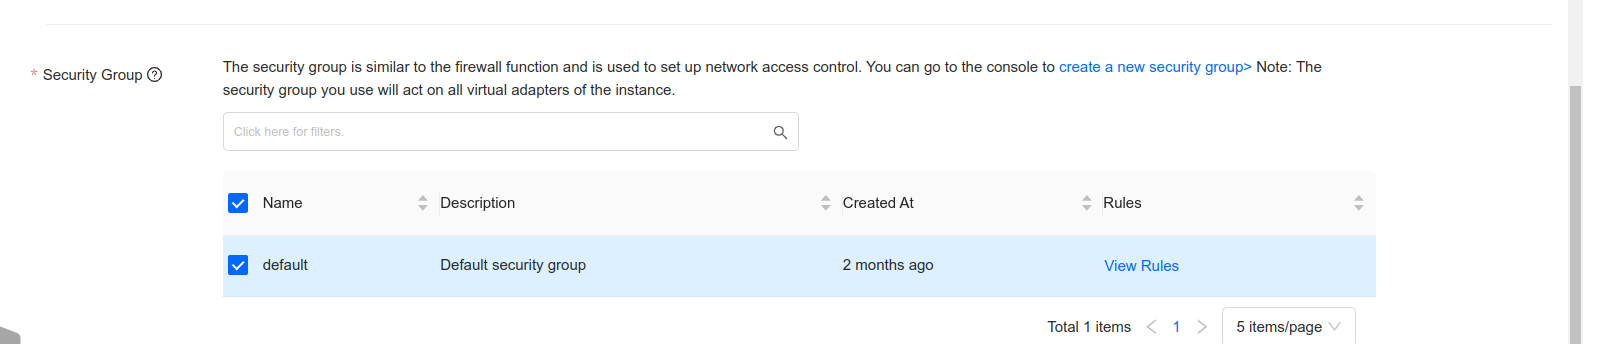
Security Group groups together all the network rules (ingress as well as the egress). For example, if you want your VM to be accessible via SSH from your floating IP, you must open port 22. If you want your VM to respond to the pings, you must add the ICMP rule. It can be done from the Security Groups subsection under the network section on the side panel.
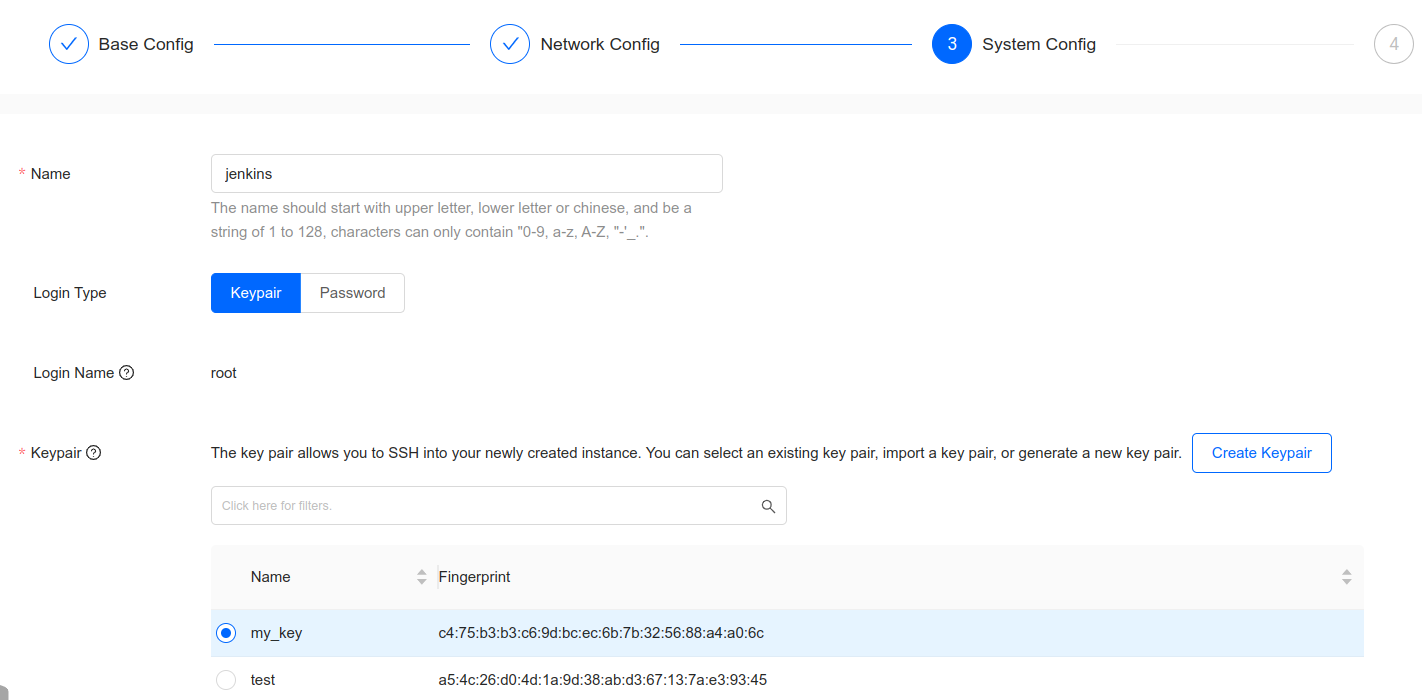
f) On the System Config page, provide a name for the VM. Also, Create and choose an SSH key pair.
g) On the next page, verify and confirm. Your VM will be created with a minute or two with a default password "mypasswd" and user root (except ubuntu! For ubuntu, the username is ubuntu).