
How to Accociate a floating IP with a Virtual machine on Marvlbyte cloud

Once the VM is created, navigate via the More button at the right of the instance as shown below

From more->Related Resources->Accociate Floating IP
However, Before that one needs to create a floating IP. To create a floating IP, Navigate from Network->Floating IP on the side panel and click on the Allocate IP button, which will open up a dialog as shown below
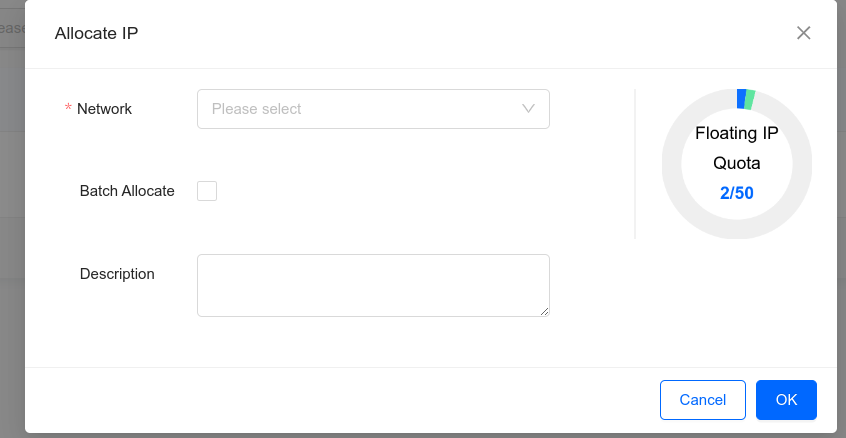
On this dialog window, select Network and Owned Subnet. DO NOT input any Floating IP Address or select Batch Allocate and click OK. This will create a floating IP. Once created, you should now be able to associate it with a VM following the steps mentioned earlier.